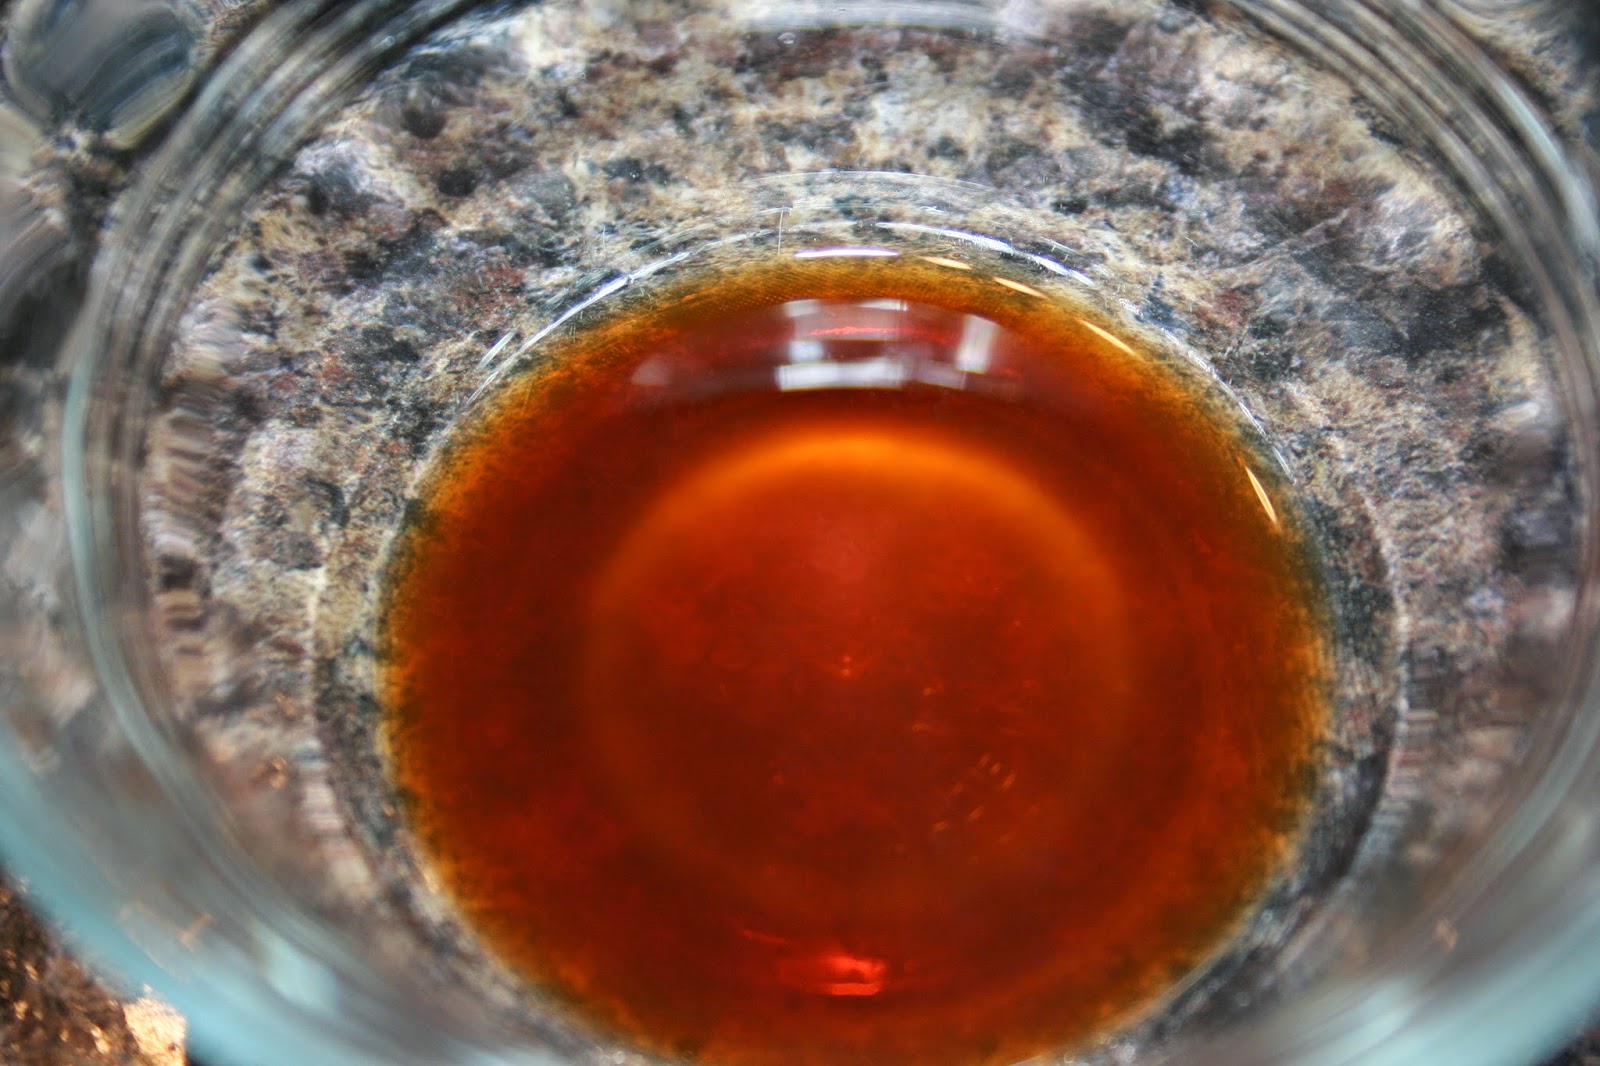
Here it is! For the past few days I've been trying to capture photos of the maple syrup process. These posts will (hopefully :)) show how we tap our trees and get the delicious syrup from them.
So here is Part 1. . .
The very first thing we need to do when getting ready to tap our trees is figure out when the weather is just right. Cold nights (below 0) and warm days (above 0) are ideal.
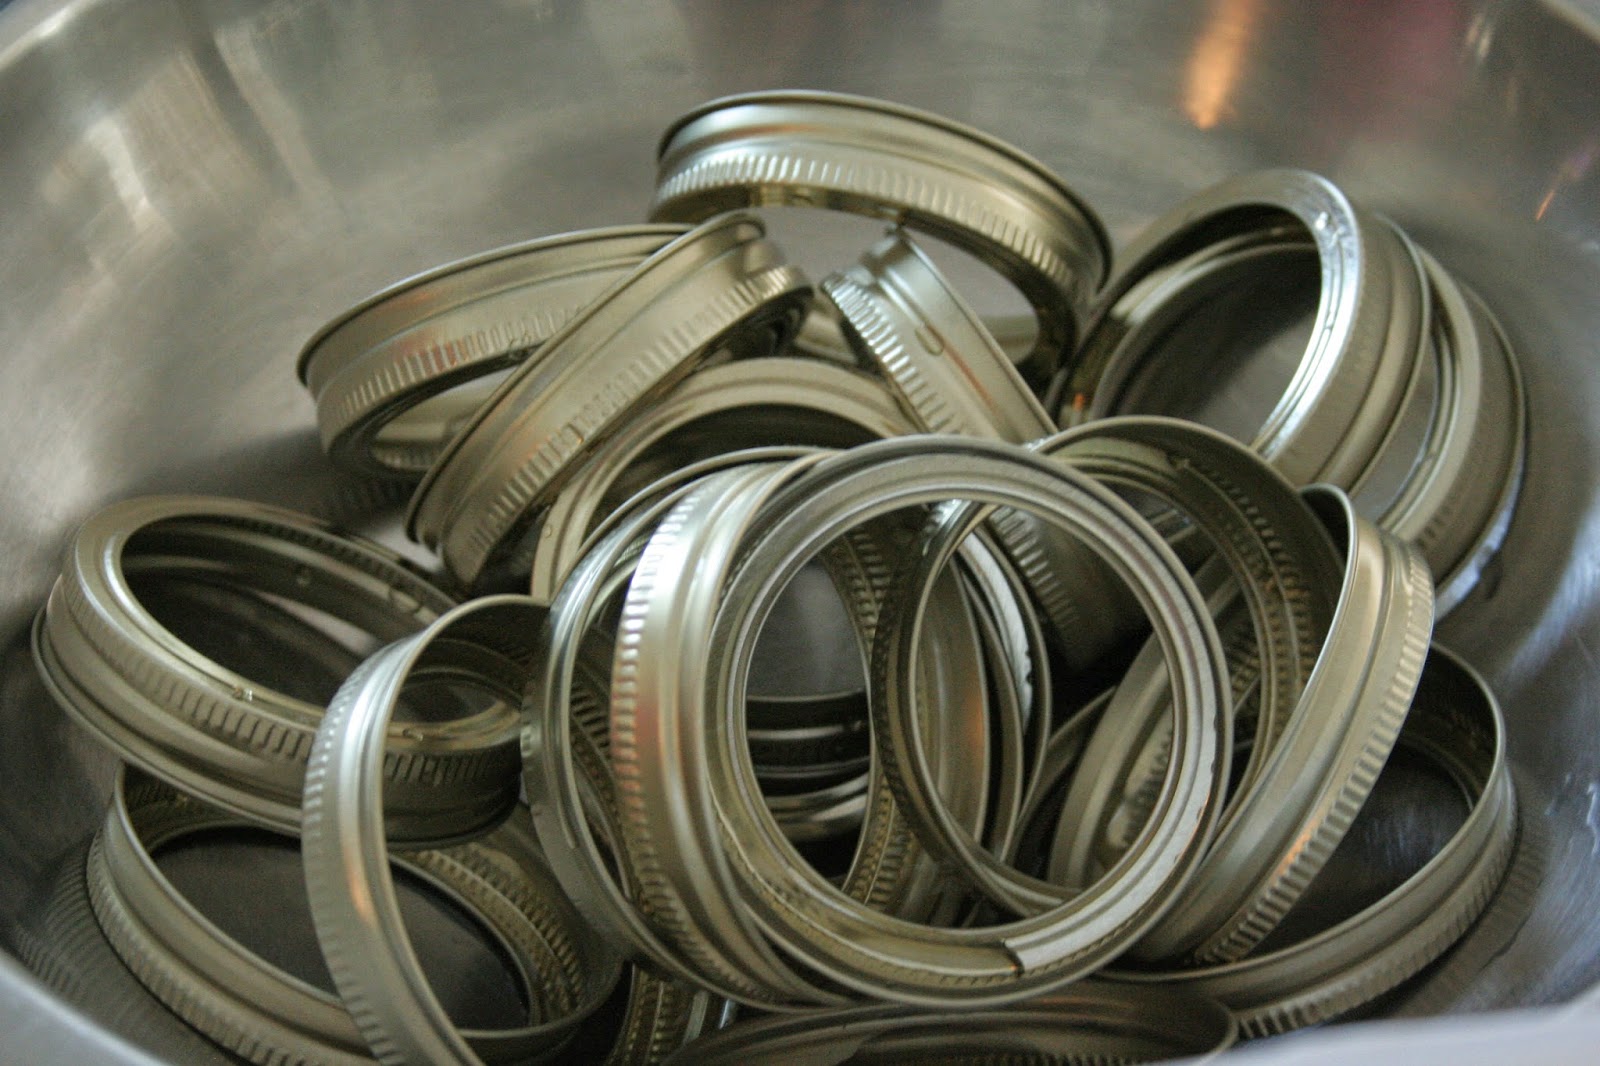
Once the weather is OK to tap in, we get our drill, hammer, spiles (aka taps), tubes, buckets, pliers, lids, scissors, "Fridge", and evaporator ready.
The Fridge is a big barrel that is covered up well with snow. It's a very deep barrel and past years have found us inside it with a pot trying to scoop up sap. No pictures of that yet, but trust me, we looked ridiculous! :P
After that, we choose the trees that we want to tap. This year we tapped mostly trees that we had done last time. Now the holes don't close up really fast and disappear after one or two years. So when we were tapping, we found a whole bunch of old holes. Rules for tapping say that we need to drill at least 3 inches away from an old or new hole. Also, we need to drill on a flat part of a tree. Once the perfect spot is found, we turn on the drill and, after angling it the slightest bit, we go in! On good days, the sap will start coming out almost immediately.
Then we take our spile and hammer it in, well. If we don't do it properly, the sap leaks out below the spile and you DON'T want that!
Then we attach a bucket to the hook and add a lid/cover.
We also did a few tubed taps. The process is the same for tapping, we only add tubes to the spiles instead and lead it into a big white bucket.
And after we tap as many trees as we need/want, we wait. . .
I'll stop there for now. Got to go organize the next set of pictures!
If there are any questions, feel free to ask! Either Mom, Tiger Lily, or I will be happy to answer them! :)


